Get Fast Support From Our Sales Team
Get Fast Support From Our Sales Team
Need product information, quotation, samples, or delivery details? Our sales specialists will help you select the right TFT, OLED, AMOLED, or custom display solution.
Need product information, quotation, samples, or delivery details? Our sales specialists will help you select the right TFT, OLED, AMOLED, or custom display solution.

A sunlight readable display is designed to keep equipment interfaces legible in direct sunlight and other bright environments, from vehicle consoles to self-service terminals. Compare display formats, screen performance, and touch options for your installation.
Start with where the screen will be mounted, where people will view it, and what they need to do.

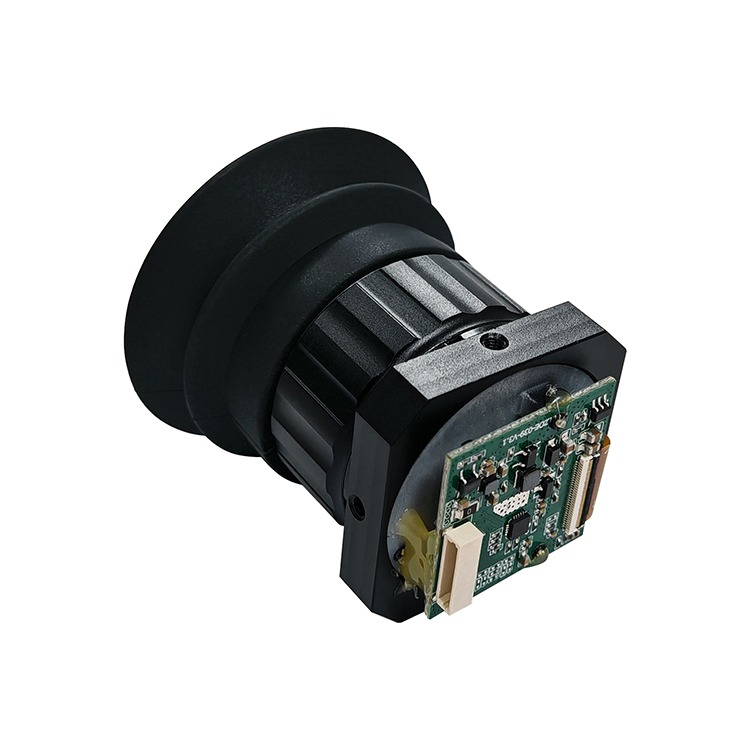
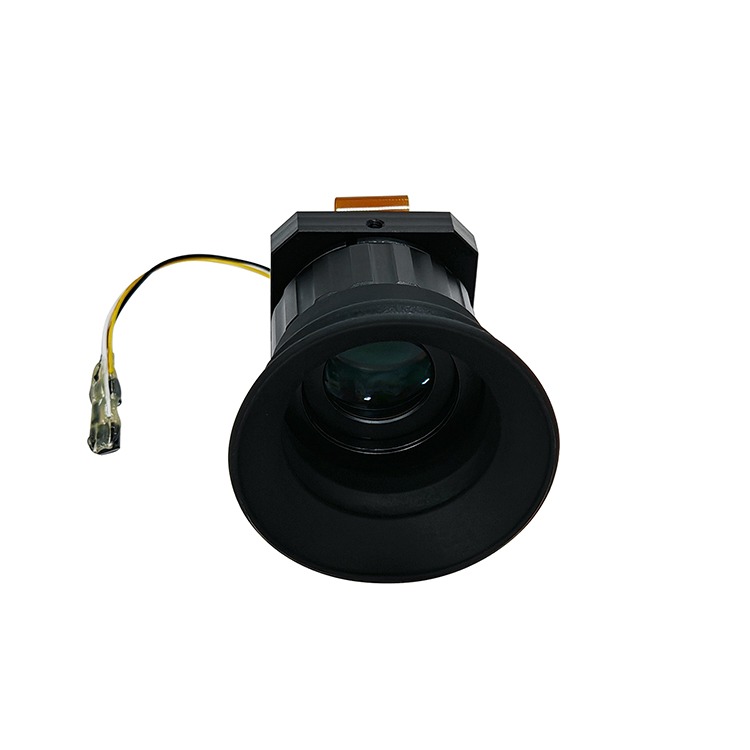
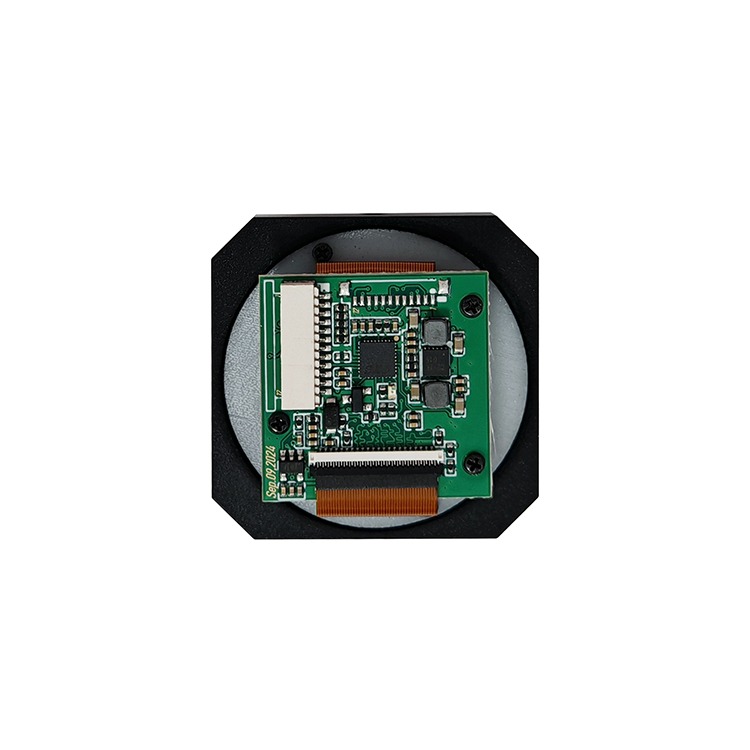
Compare display kits, optical prism modules, and AMOLED displays by screen size, resolution, interface, and included components to find a fit for your OEM design.
Consider a transmissive design when the system has power and cooling headroom for a brighter backlight, or a transflective design when daylight can reduce the need for it.
| Design | In strong light | In shade or at night |
|---|---|---|
| Transmissive LCD | Uses light from behind the panel. Check power draw and heat at the output needed for legibility. | Check how far the display can dim while keeping text legible. |
| Transflective | Uses reflected ambient light to help form the image. Check power draw with the light source dimmed or off. | Check luminance and contrast with the backlight on as reflected light falls. |

Set the brightness target using the contrast needed for critical content at the brightest expected exposure and the most demanding viewing angle. Luminance describes how bright a surface is in a given direction. One nit equals one candela per square metre (cd/m²).
Request luminance measurements for the finished display, including cover glass and any touch layer. Compare readings taken at equivalent points on the screen, with comparable viewing angles, drive settings, and temperatures. Check whether each value is typical or a specified minimum.
The Society for Information Display’s Information Display Measurements Standard distinguishes darkroom measurements from testing under ambient illumination. Ask for the ambient contrast ratio at a stated illuminance in lux, with the light direction and viewing angle reported. Check whether a reflection from the sky or a nearby surface obscures text from the operator’s position.
Optical bonding fills the air gap between the LCD and the cover glass or touch assembly with a clear adhesive. This reduces internal reflections. On the outside surface, an anti-reflective coating reduces reflected light, while an anti-glare finish scatters it to soften mirror-like glare.
Confirm the bonding method and glass finish for the configuration you’re considering. Evaluate the cover glass, touch layer, and LCD together at the installed angle. View small text and fine symbols under representative lighting to see how the finish affects legibility.
Choose non-touch for equipment with separate physical controls, projected capacitive for multi-touch gestures, or a pressure-activated screen when gloves or a passive stylus are central to the job.
For a projected capacitive model, confirm which gloves and stylus types it supports. If the screen will encounter rain or spray, test for missed inputs and unintended activations on wet glass.
For a resistive model, confirm the required touch pressure and whether it supports the gestures your interface needs. Test the finished assembly with the gloves or stylus operators will use and the intended controller settings.
Choose an OEM LCD module if your team will integrate the display electronics and housing, or a monitor if you need integrated video electronics.
For any format, verify screen size, active area, native resolution, and mounting dimensions against the equipment drawings. Match the video or panel interface to your host electronics. For touch models, confirm the touch interface and host support. Check the input voltage and maximum power draw.

Compare display formats, verify screen performance and installation requirements, and gather the details needed for a project-specific quote.
Test the finished display with your actual screen content at the intended viewing distance and mounting angle. Include the brightest expected exposure and check whether glare obscures critical text or controls.
Set the luminance target based on the contrast your content needs under site lighting. Compare finished-unit readings at equivalent settings and ask for contrast data that specifies the illuminance, light direction, and viewing angle.
Consider it when equipment spends much of its operating time in strong daylight and power is limited. It uses available light to help form the image. Check how much backlight output it needs in shade and at night.
Check where glare occurs. Bonding reduces internal reflections, while an anti-glare finish scatters reflections at the outer surface. Evaluate the finished screen at the installed angle to see whether a surface treatment helps.
It depends on the model and controller settings. Confirm which gloves the model supports. If the screen will get wet, test for missed inputs and unintended activations with the gloves operators actually wear.
Choose an OEM module for a custom electronics design, an open-frame monitor for integration into a host cabinet, or an enclosed monitor when the display needs its own housing. Verify the mounting dimensions and connector clearance before specifying the unit.
Confirm the rated protection against solids and water under IEC 60529. Check whether it applies to the installed front face or the complete enclosure, and verify any requirements for gaskets, cable entries, and connector seals.
Check the model’s operating temperature limits against the expected temperature inside the housing under sustained load. Account for solar heating. If the unit dims as it warms up, verify that critical content stays legible.
Review the model-specific datasheet, dimensioned drawing, and relevant test results. Check that they match the exact ordering code, cover glass, touch configuration, and mounting conditions you plan to use.
Confirm that the datasheet, mechanical drawing, and test evidence match the configuration you want quoted. If you’ve shortlisted a model, include its full ordering code in your request.
Include your application, lighting exposure, target screen size, mounting and interface needs, touch requirements, and estimated quantity. Attach a drawing or installation photo if available.