Get Fast Support From Our Sales Team
Get Fast Support From Our Sales Team
Need product information, quotation, samples, or delivery details? Our sales specialists will help you select the right TFT, OLED, AMOLED, or custom display solution.
Need product information, quotation, samples, or delivery details? Our sales specialists will help you select the right TFT, OLED, AMOLED, or custom display solution.

Made-to-spec cover glass is the protective front panel for a display, touchscreen, or equipment interface. Hengping Industry supplies glass shaped to fit your device, with material, thickness, edge finish, surface treatments, and printed details specified for each project.
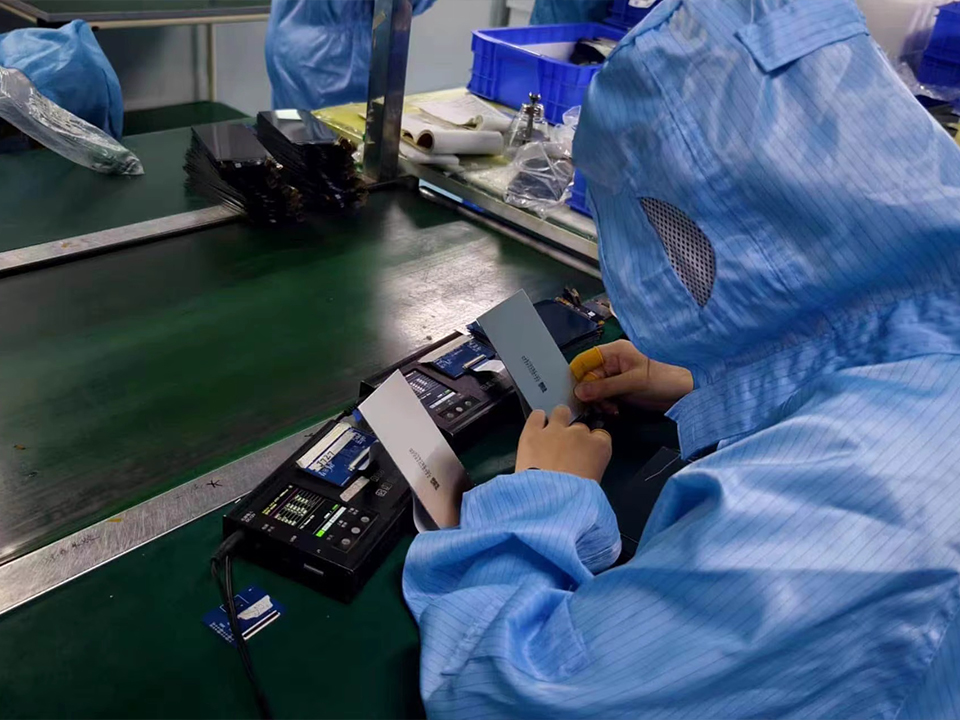
The glass forms the exposed face of the device. It sits in front of the display module and, in a touchscreen, over the touch sensor, which may be a separate layer or integrated into the display. The glass protects the components behind it and defines the surface users see, touch, and clean.
An industrial human-machine interface (HMI) may need to stay readable under overhead lighting. For medical devices, check compatibility with the cleaners used on site. Smart home interfaces and consumer electronics may put more emphasis on a flush fit, a consistent border, or symbols that appear only when lit.
Choose the finish around the problem users will notice first. Overhead fixtures, daylight, and frequent touch can each call for a different treatment.
| Option | When to Consider it | What to Check |
|---|---|---|
| Anti-glare (AG) | Distinct reflections from lights or windows compete with screen content. A textured surface diffuses reflected light. | Haze, text sharpness, and visible sparkle on the intended display. |
| Anti-reflective (AR) | Reflections obscure low-contrast content. A coating reduces surface reflection. | Reflectance and any residual tint at the intended viewing angles. |
| Anti-fingerprint (AF) | Fingerprints and oils are visible on a frequently touched face. A coating can make smudges easier to wipe away. | Appearance and cleanability after repeated use with the intended cleaners. |
Review feasibility against your drawing, agree on how samples will be accepted, and confirm which checks will continue in production.
Confirm the proposed material and process against the current drawing. Ask which requirements need clarification or revision before production.
Agree on acceptance criteria before ordering samples. Check the finished part against the drawing and test its fit in the assembly.
Define limits for chips, scratches, and print defects. Agree on viewing conditions and how critical dimensions, edge finish, and optical performance will be measured.
Confirm which sample checks will continue in production, how often they will be performed, and which results the supplier will record.
Start with the space available in the enclosure and the loads the glass must withstand in use. Soda-lime glass is a common starting point for flat panels. Aluminosilicate grades designed for ion exchange are worth evaluating when the design calls for a thin, strengthened panel. Compare candidate grades at the intended part thickness and with the support the enclosure will provide.
Chemical strengthening uses ion exchange to place the glass surface in compression and is often suitable for thinner parts. Thermal tempering heats and rapidly cools the glass to create surface compression. Its feasibility depends on the substrate, thickness, and geometry.
Check how glass thickness affects bezel depth, adhesive clearance, and touch response. Specify durability tests that reflect the device’s use, such as impact at an exposed corner, and evaluate the selected construction against those requirements.
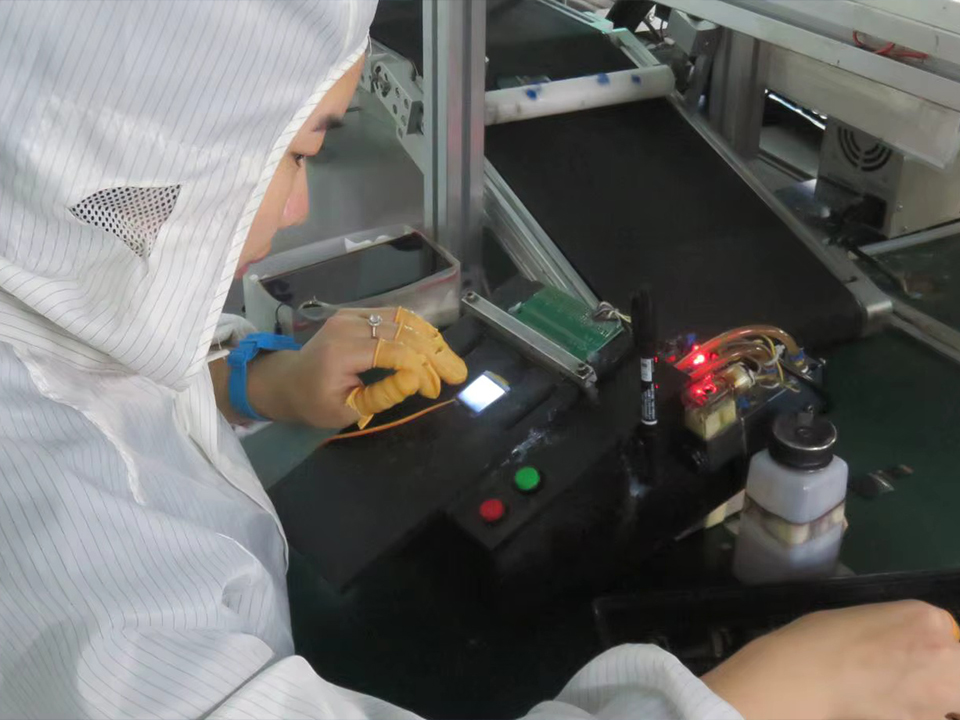
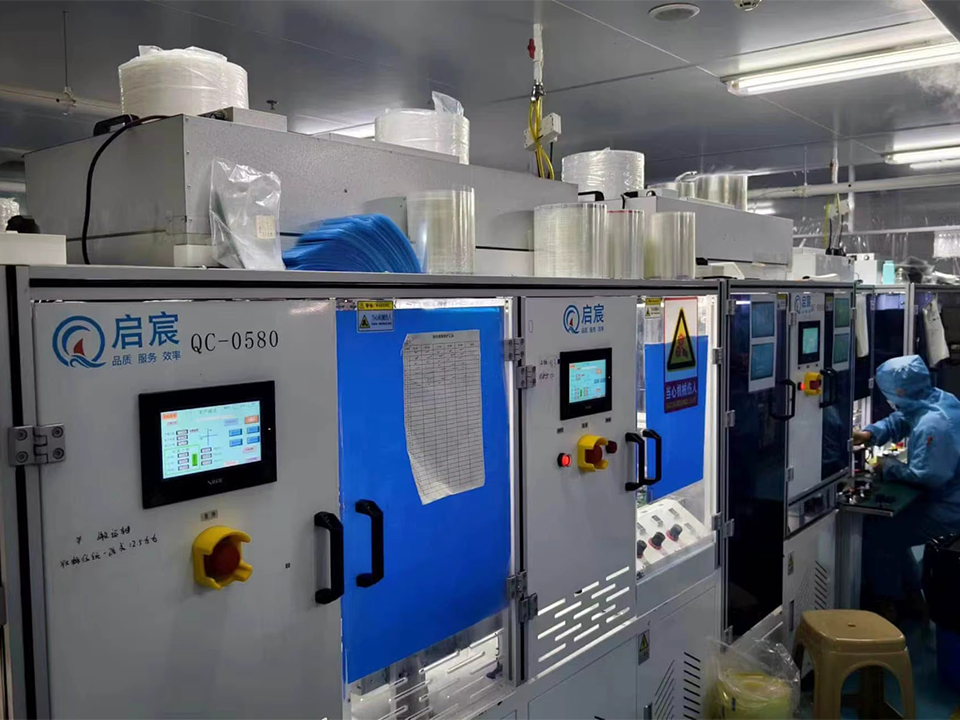
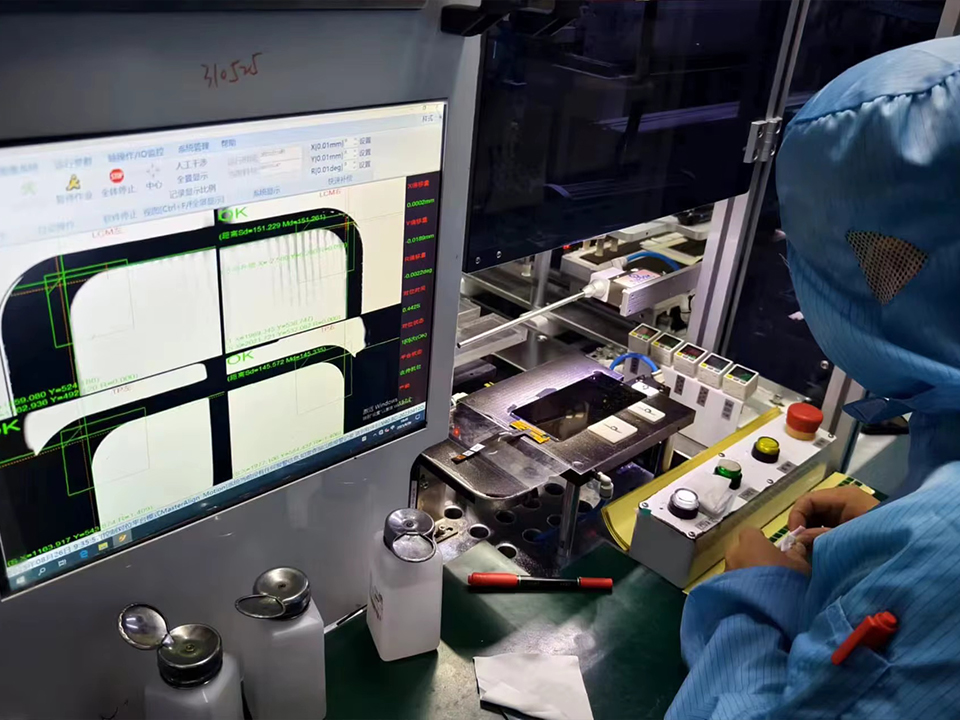
A printed border can conceal the bezel or adhesive, while graphics and icons can identify controls or mark illuminated features. In the artwork, locate the clear viewing window, printed boundaries, symbols, and any openings for indicator lights from the same reference points used on the glass drawing.
Overlay the artwork on the display drawing. Check that the border clears the active display area at the limits of assembly variation. For backlit symbols, define how they should look when lit and unlit. Identify the print side and confirm the ink, color, opacity, and registration requirements against an approved sample.
Check the complete stack in section view. Align the clear opening with the image, the touch area with the on-screen controls, and any sensor apertures with their components. Confirm how the enclosure locates and supports the glass, including space for a gasket or adhesive and clearance around raised features.
Show whether the design uses perimeter mounting with an air gap or optical bonding with a clear adhesive across the display interface. Identify the mating surfaces and bond-line thickness. Check touch response, readability, and fit on a representative assembly before releasing the part.
Define the finished glass on your drawing, then confirm computer numerical control (CNC) machining limits and enclosure fit before approving samples.+
Specify the finished length and width. Show the drawing datums that locate the panel in the enclosure.
Specify the nominal glass thickness and flag the dimensions and tolerances that affect mounting or display clearance.
Dimension each opening and locate it from the drawing datums. Mark any critical distances to nearby edges.
Specify the outside corner and inside radii. Confirm the minimum machinable radius for the selected glass.
Mark exposed and concealed edges and specify the finish for each. Show any bevels or steps in section views.
Check the bezel opening, mounting features, and edge clearances against the glass drawing. Verify fit on a sample assembly.
Find answers to common questions about specifying glass for displays and touchscreens, from material and machining choices to assembly fit, sample approval, and requesting a quote.
You can specify the glass material, thickness, outline, holes and slots, edge finish, surface finish, and printed artwork. Start with the enclosure and display dimensions so the glass profile and clear opening can be evaluated together.
Chemical strengthening uses ion exchange to put the glass surface in compression and is often considered for thinner panels. Thermal tempering uses heating and rapid cooling. Confirm which process suits the proposed glass grade, thickness, geometry, and loads in use.
Show the finished length and width, nominal thickness, critical tolerances, hole and slot locations, corner radii, and edge details. Use the same reference points to locate features on the glass drawing and in the enclosure so the parts can be checked against each other.
Minimum feature sizes depend on the material, thickness, geometry, and strengthening method. Include hole diameters, slot widths, inside radii, and distances to nearby edges so the machining limits can be reviewed for your part.
Start by marking which edges will be visible and which will sit inside the enclosure. Specify the finish for each edge and show any bevels or steps in a section view. Use a sample to check the look of exposed edges and clearance at the mounting points.
Anti-glare (AG) diffuses reflected light. Anti-reflective (AR) reduces surface reflection. Anti-fingerprint (AF) helps make fingerprints and oils easier to wipe away. Evaluate the finish under the lighting and cleaning conditions the device will encounter.
Yes. Screen printing can define borders, control icons, and graphics for illuminated features. Provide artwork showing the clear display opening, indicator locations, and print side. For backlit symbols, specify how they should look with the light on and off.
Review a section view of the full assembly. Check the clear opening against the active image, confirm sensor alignment and mounting clearances, and show where any gasket or adhesive sits. Verify fit, readability, and touch response on a representative assembly before approving the part.
Yes. You can request a sample made to your drawing. Before approving it, agree on how critical dimensions, edge finish, appearance, and any optical targets will be checked. Confirm which checks will carry over to production and which results will be recorded.
Yes. Start with preliminary dimensions, the device application, expected quantities, and target timing if known. Include any material, thickness, machining, finish, or printing requirements you’ve already decided, and flag the details that are still open.
Tell us what you’re building, the panel dimensions, and how many you expect to need. If your design is still in progress, share your preliminary specs and flag any open requirements.