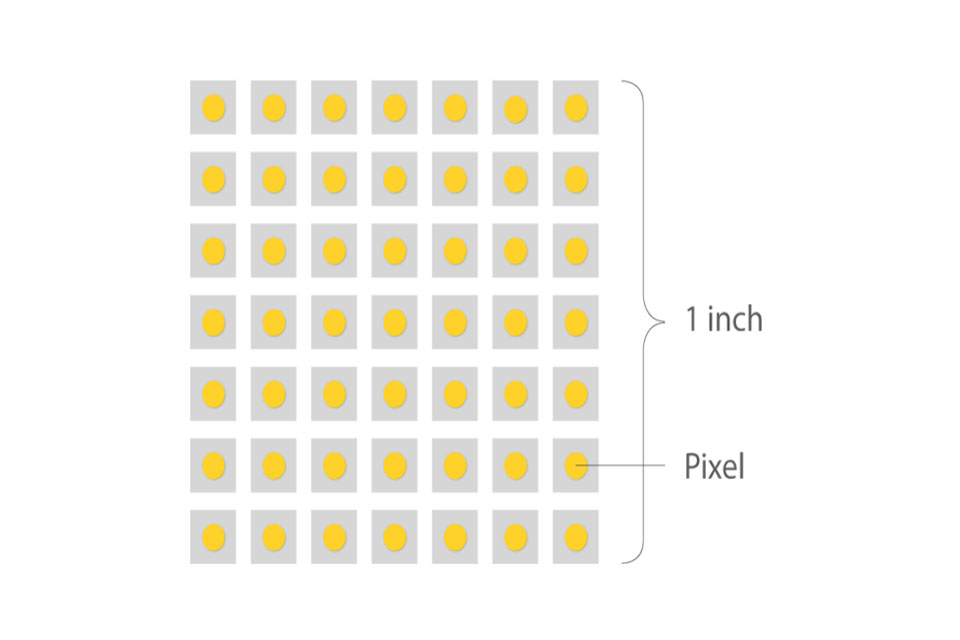
Pixel density refers to the amount of pixels contained within a square inch of a display, measured in pixels per inch (PPI). It plays a crucial role in determining the clarity and detail of images. Higher pixel density typically results in sharper images and better overall image quality, making it a key consideration for designers and photographers.
Understanding pixel density is essential, especially when creating design assets for various platforms, such as Apple devices. With the rise of high-DPI displays, knowing how to optimize your images for different pixel densities ensures that they look great, regardless of the device they are viewed on.

Calculating PPI involves measuring the resolution of an image and dividing it by the dimensions of the display in inches. For instance, if an image has a resolution of 1920x1080 pixels and is displayed on a screen that measures 15.6 inches diagonally, the PPI can be calculated using the formula:
This calculation is crucial for designers to ensure that images are crisp and clear on various devices.
Resolution is the total number of pixels in an image, usually expressed as width x height. A higher resolution means more pixels are available to create the image, which generally leads to better image quality. However, if an image is displayed on a screen with lower pixel density, the extra resolution may not be fully utilized.
For example, an image designed for a screen with a high pixel density (e.g., Retina displays on Apple devices) will appear sharper and more detailed than the same image viewed on a standard display. Therefore, understanding the relationship between resolution and pixel density is essential for producing high-quality design assets.
A high pixel density typically refers to displays that have a PPI value above 300. This level of density allows for incredibly sharp images, making it ideal for detailed graphics and photographs. For comparison, standard displays might range from 72 to 100 PPI, while high-resolution displays, such as those found on modern smartphones and tablets, can exceed 400 PPI.
When designing images for high-DPI displays, remember that higher pixel density enhances user experience by providing clearer and more vibrant visuals.
Viewing distance is another crucial factor influencing how we perceive image quality. The closer you are to a display, the more you can notice individual pixels. For instance, a high PPI display will look significantly sharper when viewed up close compared to a lower PPI display.
In practical terms, this means that while a 300 PPI image may look perfect on a smartphone, the same image might not appear as crisp on a large screen viewed from a distance. Designers should consider the intended viewing distance when creating assets, ensuring that they maintain optimal quality across various contexts.

Several tools can help you measure pixel density and ensure that your images are optimized for various displays. Software like Adobe Photoshop allows you to check the PPI of your images easily. Additionally, online calculators can help you determine the PPI based on resolution and dimensions.
Using tools like Figma can also aid in designing assets that are pixel-perfect. By setting your canvas to the correct dimensions and PPI, you can ensure your designs look great on all devices.
Different devices handle pixel density in varying ways, which is essential to consider when designing. For example, Apple devices often feature high-resolution Retina displays, which require assets with a higher pixel density to ensure that images appear sharp.
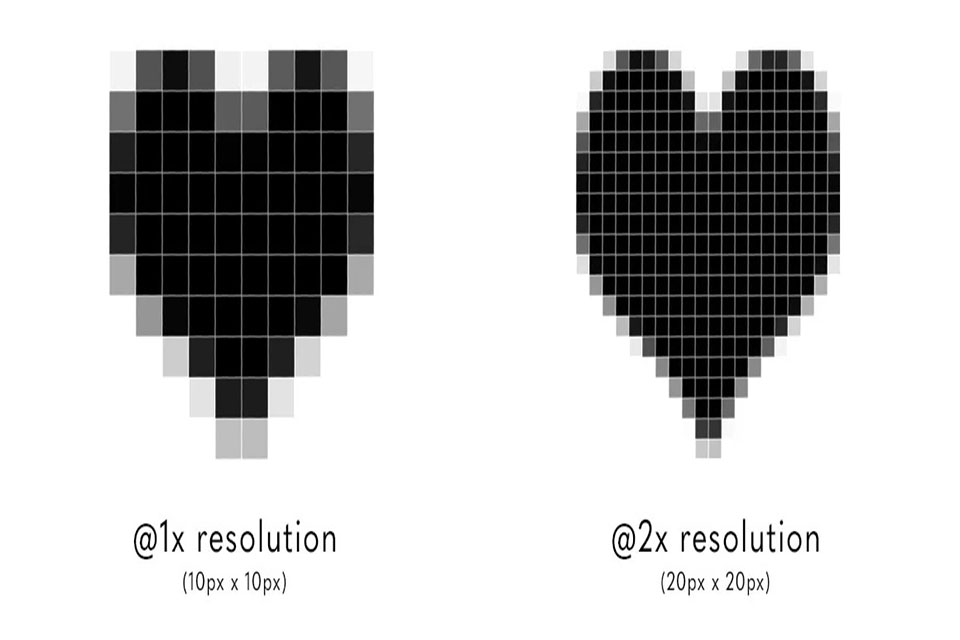
When designing assets, it's crucial to understand the scale factor for different devices. For instance, a 1x image may suffice for standard displays, but you might need 2x or even 3x versions for high-DPI displays to maintain clarity.
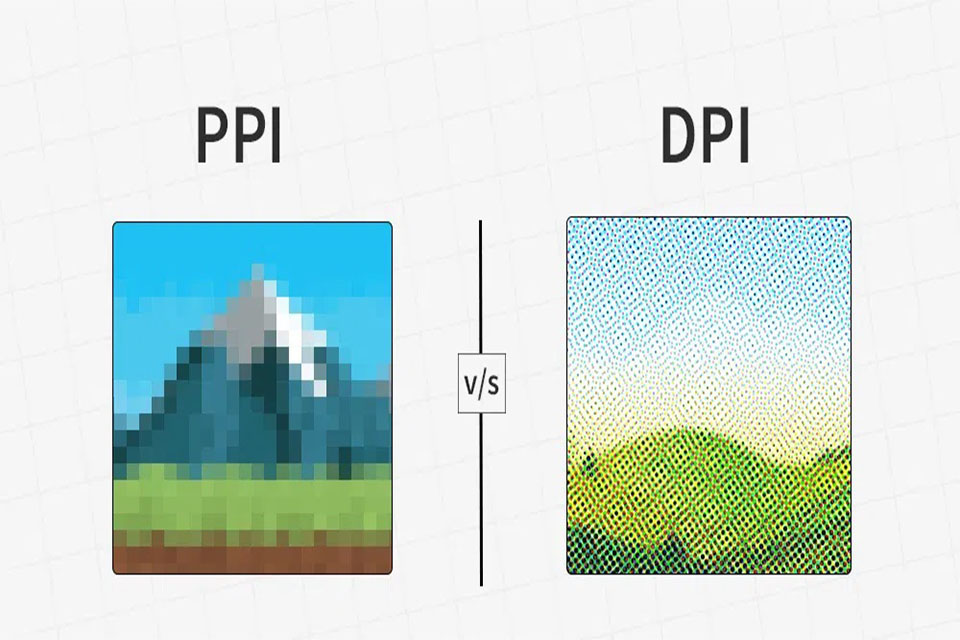
DPI (dots per inch) and PPI (pixels per inch) are often used interchangeably, but they refer to different things. DPI measures the number of printed dots in a given area, while PPI measures the number of pixels in a digital image.
In the digital realm, PPI is what matters most for image quality, especially when viewed on screens. Understanding the distinction can help designers create assets that are optimized for both print and digital formats.
To optimize images for higher pixel density, follow these guidelines:
Create High-Resolution Assets: Always design your images at a higher resolution than needed. This gives you flexibility for scaling down while maintaining quality.
Use Vector Graphics: When possible, use vector graphics for designs that require scalability. Vectors can be resized without losing quality, making them ideal for high-density displays.
Test Across Devices: Always preview your images on different devices to see how they render. This ensures that you can make adjustments as needed for optimal viewing experiences.
By following these steps, you can ensure your designs maintain high image quality across various pixel densities.


By keeping these points in mind, you'll be better equipped to create stunning designs that look great on any device.
Contact: David
Phone: +8618665976986
Tel: +8675521563288
Email: [email protected]
Add: 305 Room A Buiding Huafeng International Robot Industrial Park Xixiang Bao'an